3D Printing
Tutorials, Tips, & Errors

Tutorials

Steps to 3D Printing

1. Design your part
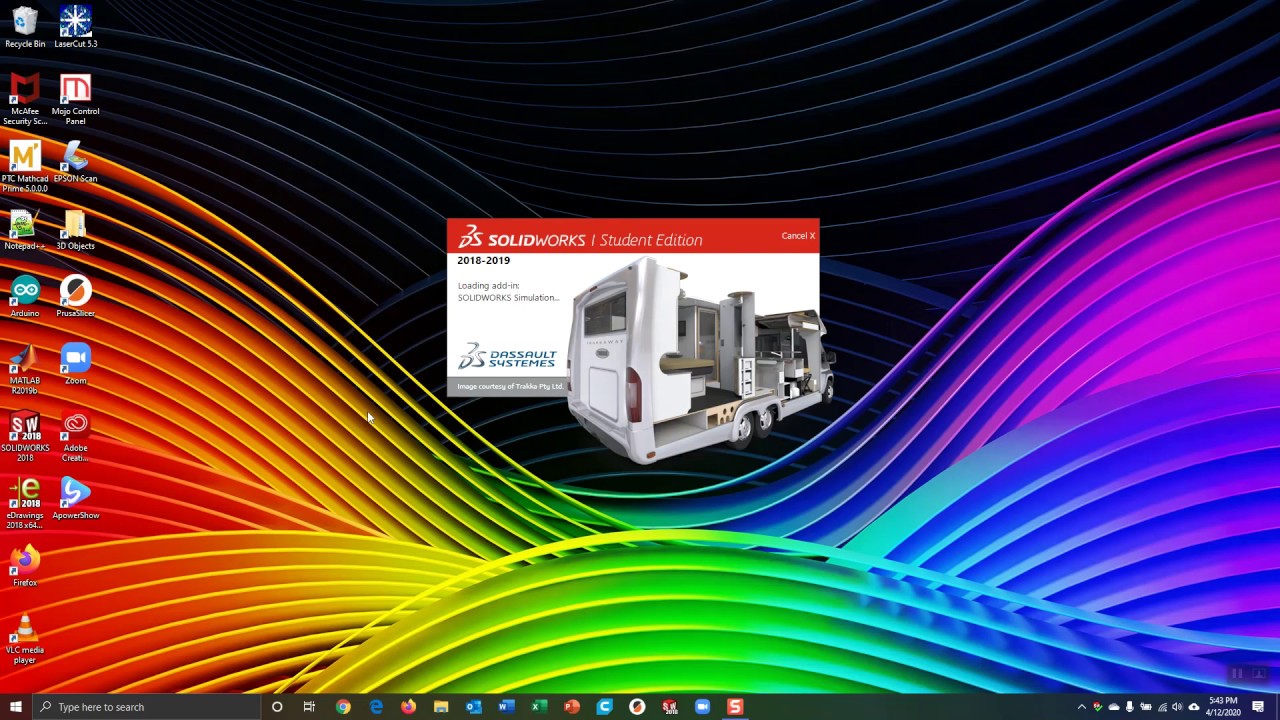
Use 3D modeling software like SolidWorks to design a part.
2. Save File as STL
Save your part as an STL file.
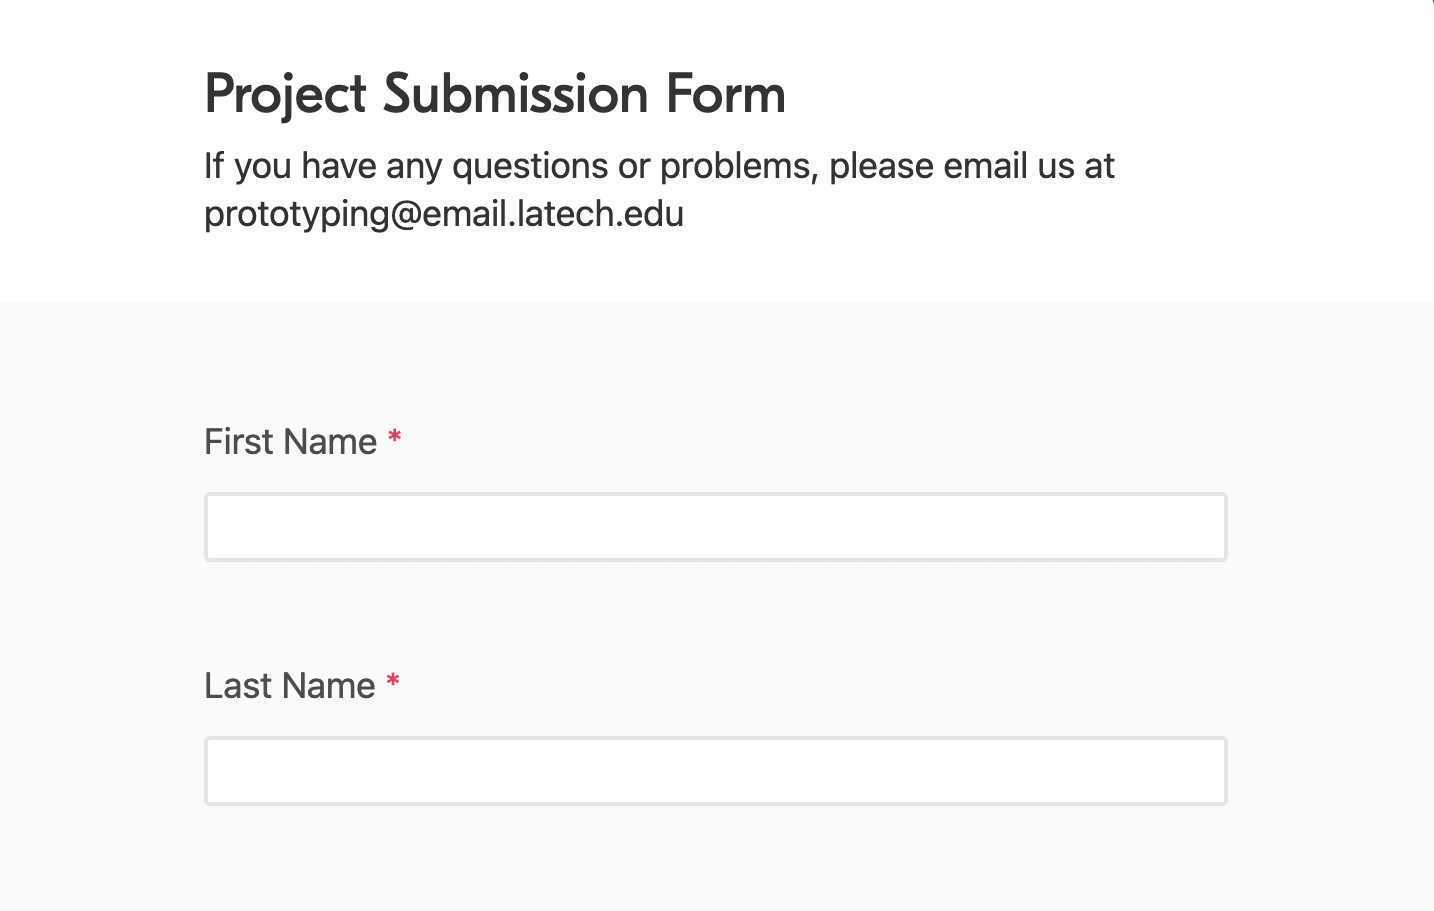
3. Submit Your Project
Submit your 3D print project and other relevant information on our Submit Page.

Saving Part as an STL file
To save a file as an STL for 3D Printing go to "File", "Save As", and select to save as a ".stl" file.

Tips

Need a bigger Print Size?
Our lab has printers that can only print up to 7" x 7" x 7". If you would like a 3D print bigger than that, we would encourage you to visit BOGH 120 or email protolab@email.latech.edu for assistance.

Errors

Dimension Error
Cause: The file was sent with dimensions that are not correct
Solution: Check the model using the measurement feature and look at the length, width, and height. If everything is proportionally correct, our lab can scale the file to meet certain dimensions if specified.
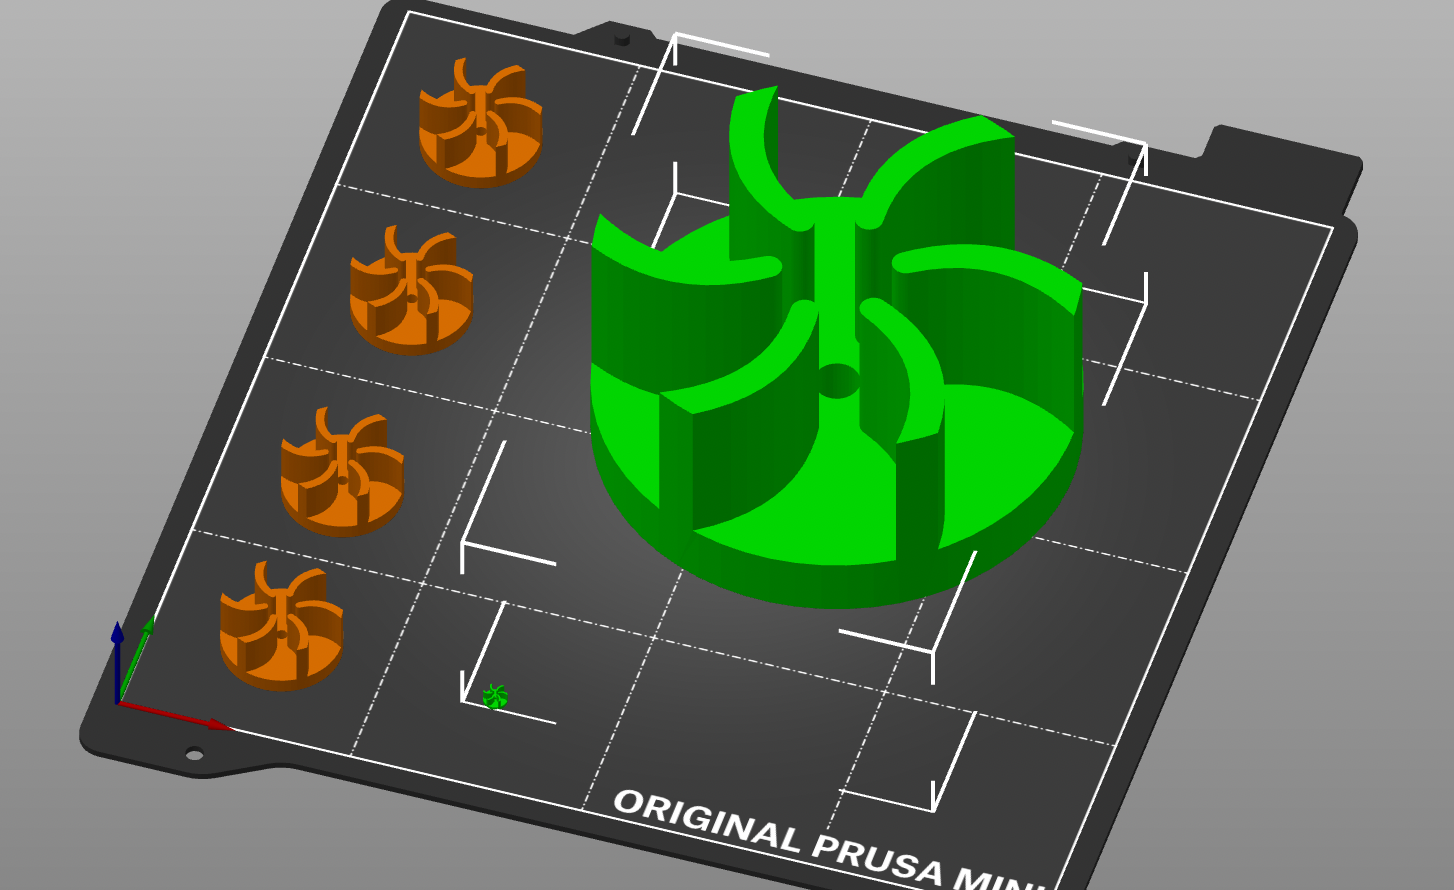
Dimension Error: The green objects are dimensioned to big and small relative to the correct print sizes in orange

Print Size is Too Large
Cause: The file is beyond the limits of our print beds.
Solution: Visit BOGH 120 or email protolab@email.latech.edu to receive help with your project.
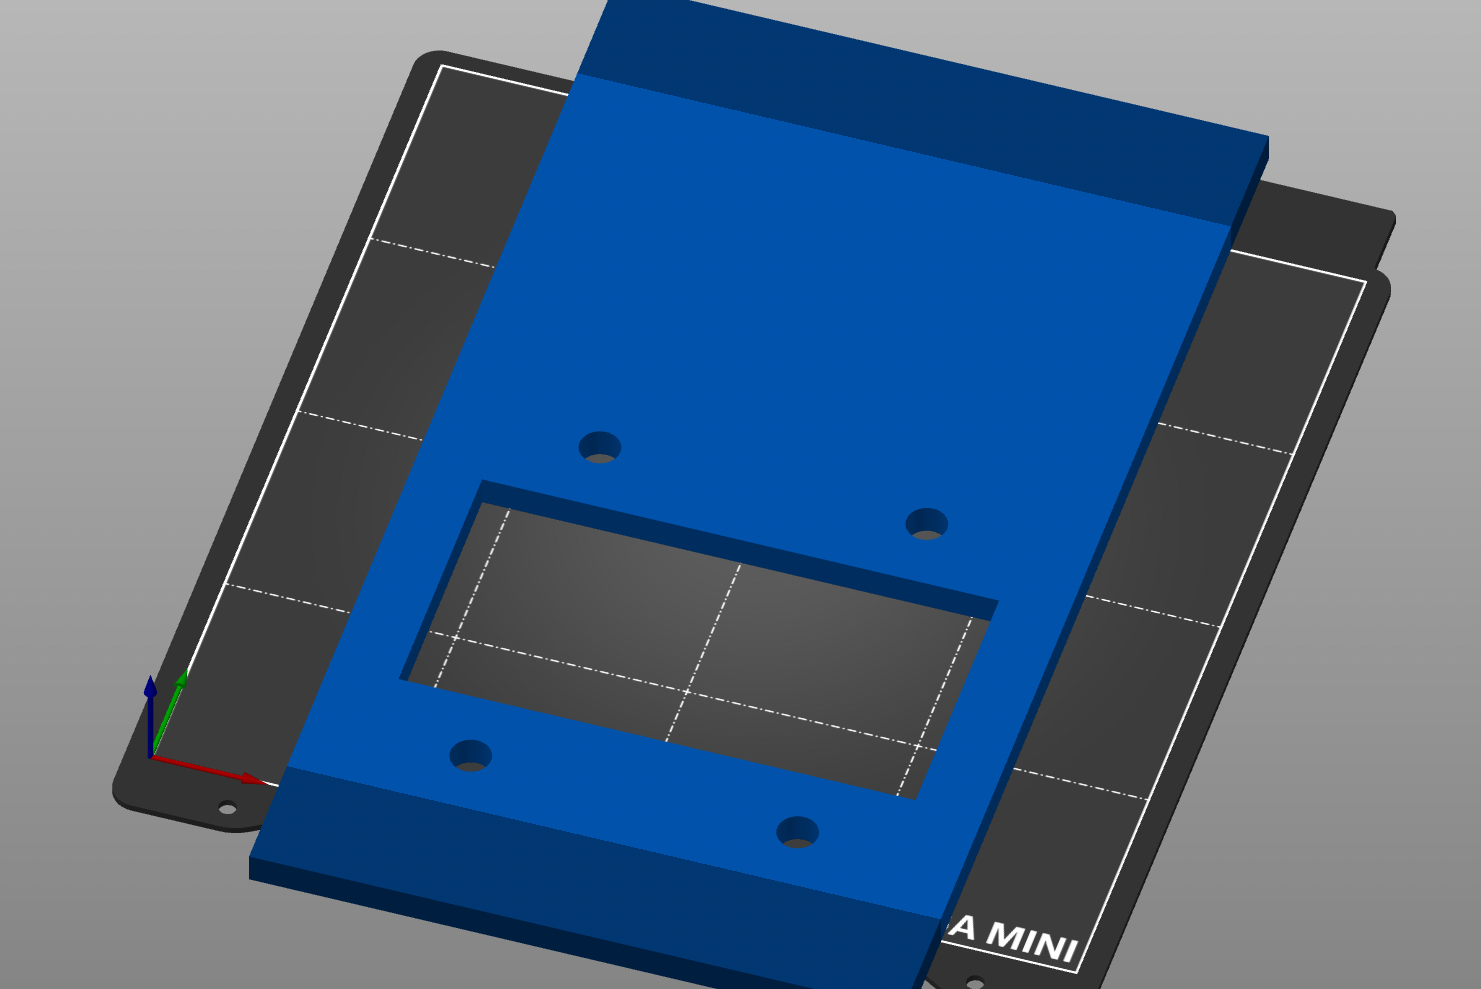
Print Size Too Large: The blue object is outside the bounds of the 7"x 7" x 7" print limit size.

Print Layer Too Thin
Cause: The file has layers or walls that are too thin
Solution: Edit the model to make sure that no layer is extruded below .15 mm or .0059 inches.
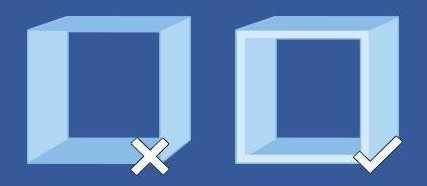
Print Layer Too Thin: The left shows an object with walls that are too thin. The right shows the corrected version.

Wrong File Type (commonly sent as SLDPRT)
Cause: The file was not sent as a .STL file.
Solution: Save the file by going to "File", "Save As", and select to save as a ".stl" file.
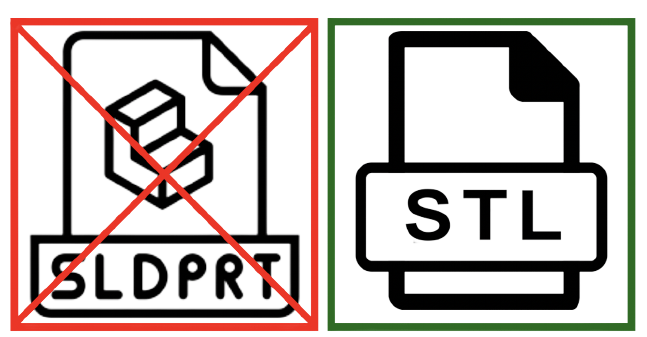
Wrong File Type: The left shows the SolidWorks file that is used to edit the model, but is NOT used for submissions. For project submissions, only submit an STL file.

